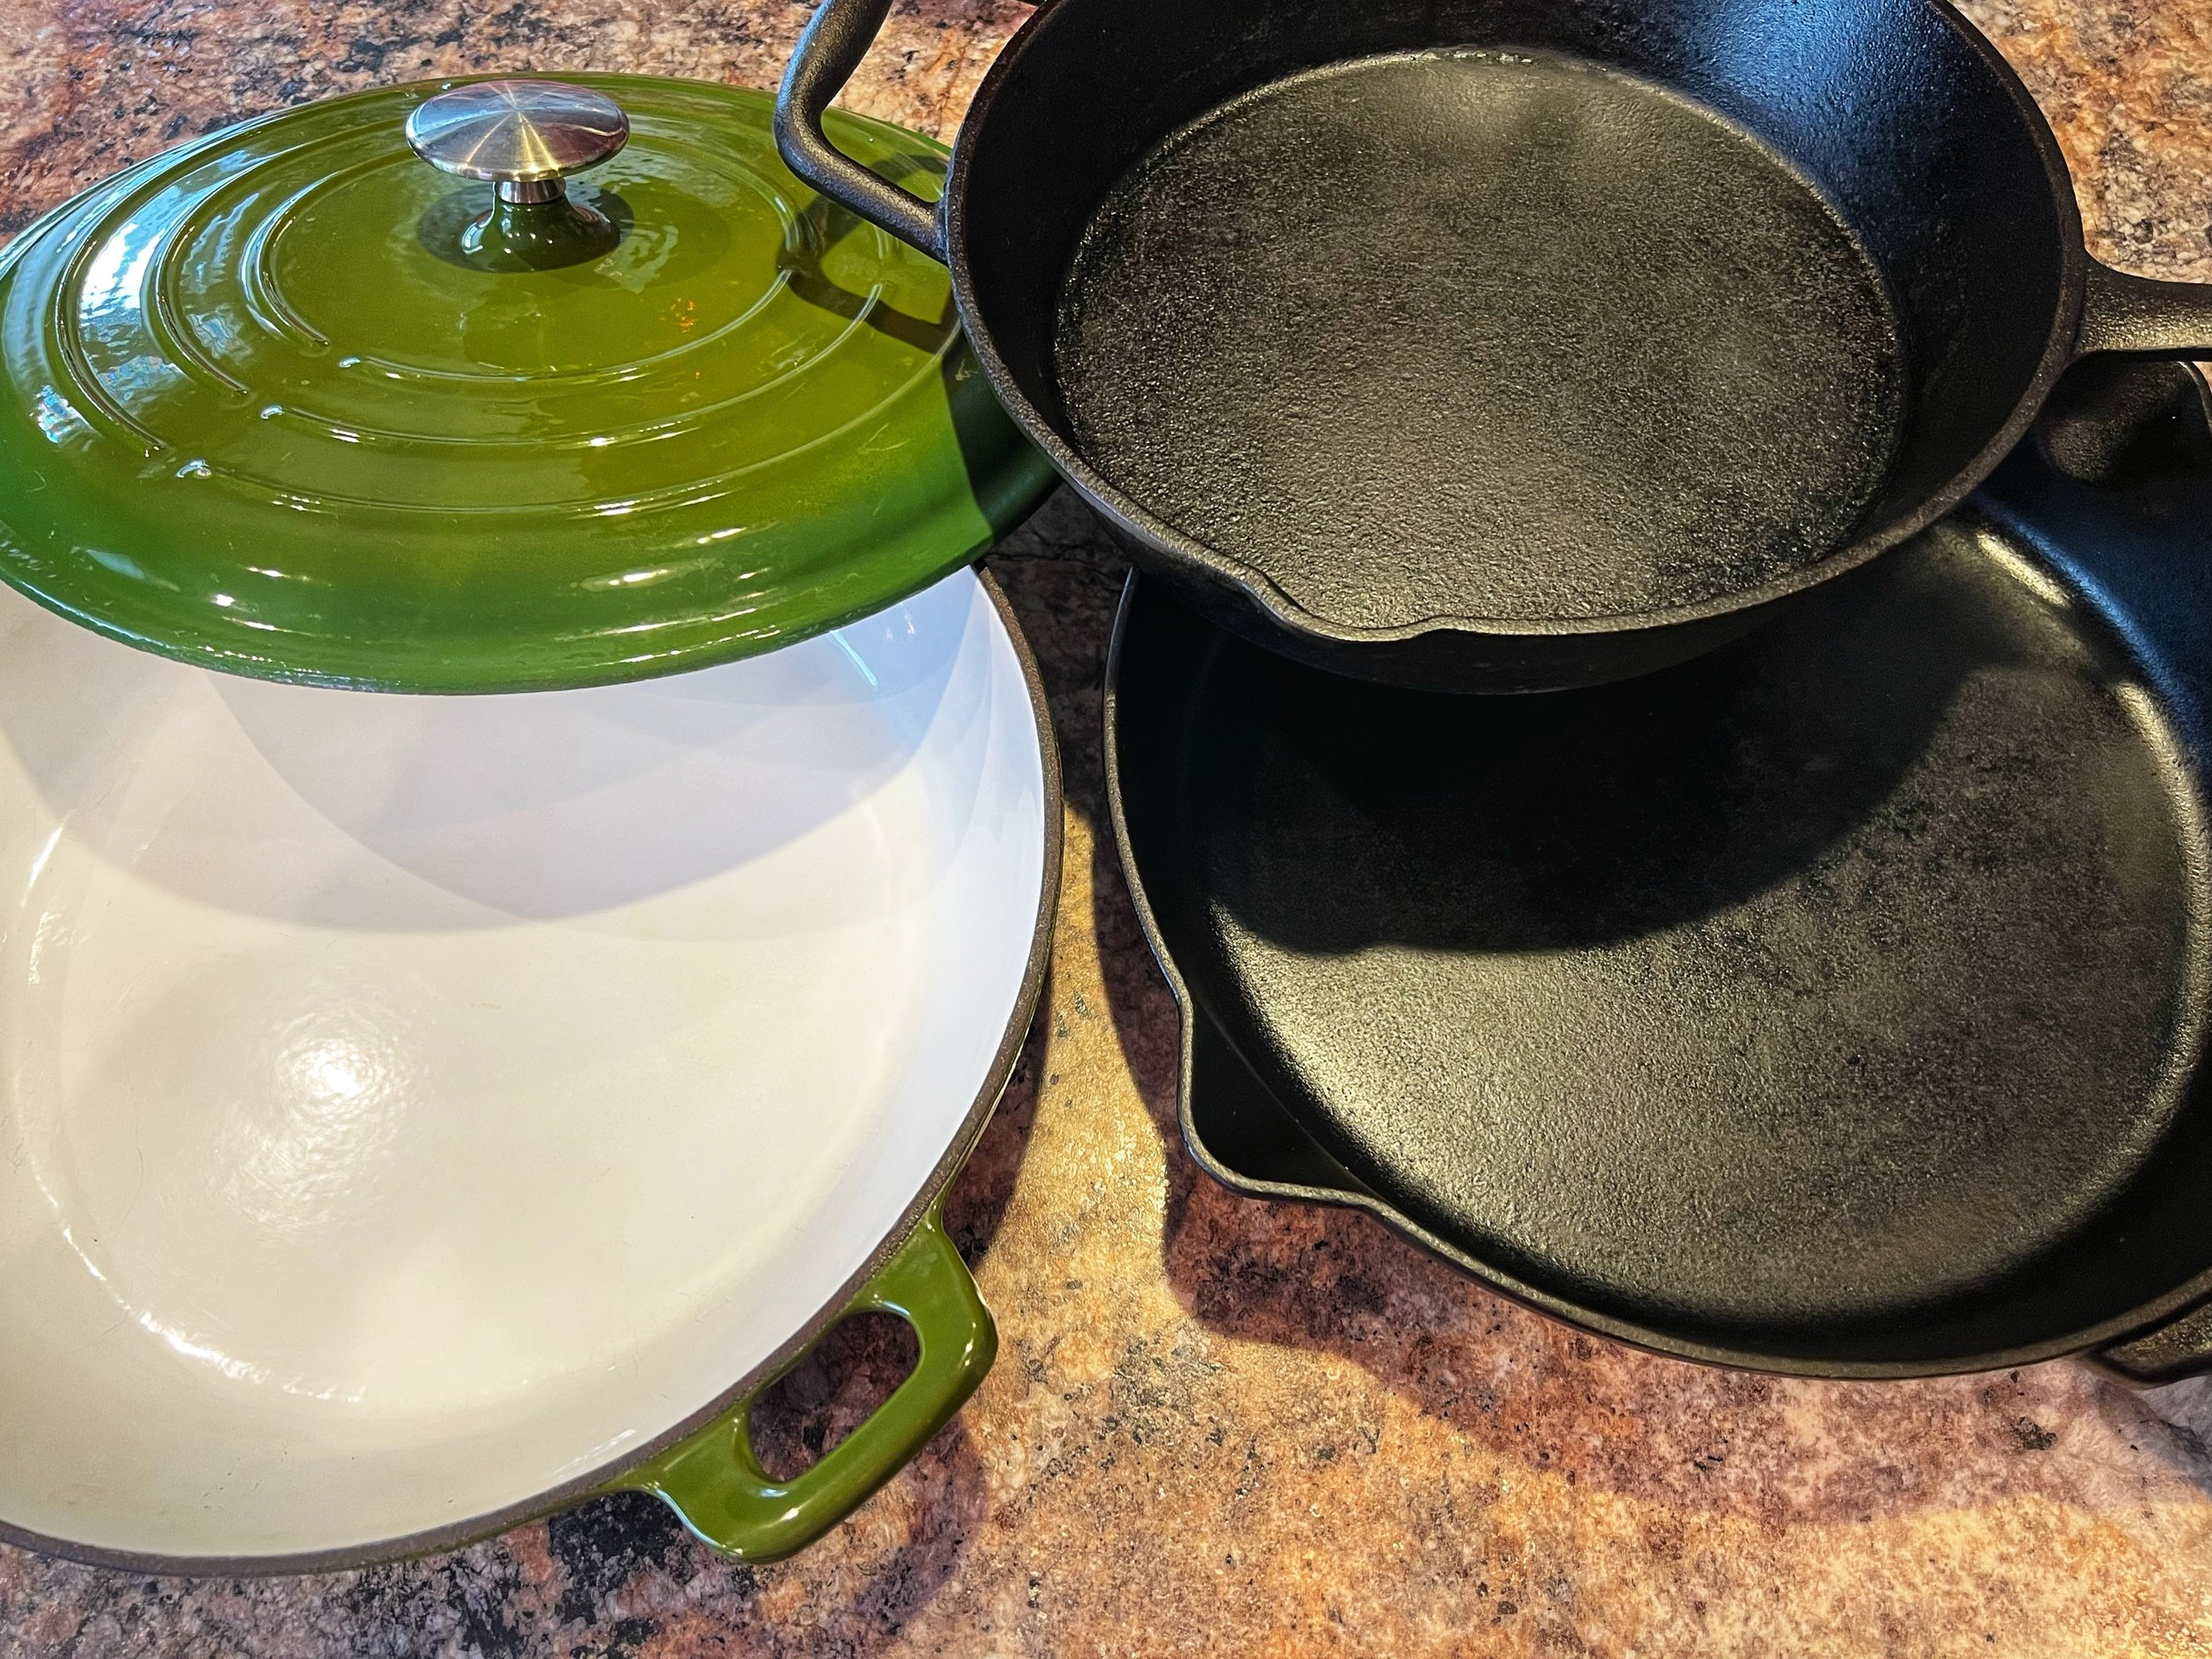
Cast Iron Cooking 101
Elevate your cooking with timeless kitchenware.
Cast iron cooking is one of the most rewarding and delicious cooking methods out there, but it can also be one of the most daunting if you're new to the game. If you've taken the leap and purchased your first cast iron pan, or if you’re still contemplating a purchase because you just don't know where to start, keep reading for a few tips and tricks to put you on the road towards cast iron cooking success.
Once you get the hang of this method, I promise you'll never go back. Even better, once your pan is good and seasoned you'll finally be able to shelve that dreaded nonstick pan you keep replacing every year. You might be thinking, "What am I supposed to cook my eggs and pancakes and other non-stick items in?” Cast iron baby - all the way. —CFG
Purchasing tips
Look for a smooth or gently pebbled surface, NOT one that’s extra rough
Select a pan with a minimum 10” cooking surface and 2” depth so as not to crowd your foods and allow for baking deep-dish style
Select a pan with a heavier weight — this helps retain heat and allows for a deep even browning of your foods
Seasoning and maintenance
Cast iron is good for all cooktop types, but be gentle with glass top ovens to avoid scratching and breaking
Most cast iron pans come lightly seasoned so you can start cooking on them without any additional prep
Allow your pan to cool for ~10 minutes before you wash it
Wash your pan with hot water, a scouring pad and elbow grease, NOT soap
For stubborn food residue, add a few pinches of coarse salt to your pan before scrubbing
Enameled cast iron pans (like le Creuset) require no seasoning and can be washed with soap, but be gentle with your cooking utensils to avoid scratching or chipping any surfaces
After washing, always fully dry your pan to avoid rust from forming (underneath the pan, too!)
After every use, drizzle a tiny amount of any kind of oil in the pan and wipe it off with a paper towel
Cooking Tips
When you preheat your cast iron after oiling it will lightly smoke — this means the oil is bonding to the pan and building a non-stick surface
Preheat your pan on medium-high then reduce to medium low after ~5 minutes — your pan will retain more heat than a standard frying pan and won’t require a constant high level of heat to produce delicious results
Give your food time to cook — once it’s ready to be flipped the food will easily lift off the surface of the pan
Always have a cloth or oven mitt at the ready to maneuver your pan — the handle is NOT heat proof
Choose metal or wooden cooking utensils over plastic (except for enameled pans)
Seasoning Cast Iron
Wash the pan with hot soapy water and dry completely
Preheat your oven to 450°F
Line a large cooking sheet with tinfoil or parchment paper and set aside
Drizzle oil of any type in the pan and buff with a paper towel
Turn off the oven and place the lined cooking sheet on one level, then place the cast iron face down on the rack above to allow any oil to be caught below
Leave in the oven for 30 - 45 minutes.
Using an oven mitt, remove the pan.
Repeat steps 2 - 6 three to four times, then allow to cool completely.
Your pan is now ready for cooking!
Restoring a Cast Iron Pan
Start with a combination of vinegar, baking soda, and salt and scrub your pan thoroughly — steel wool can also be used
Once the rust is gone, scrub the pan with hot, soapy water and season as it if were a new pan
will take it all away. Steel wool is okay to use at this stage, but you won’t want to use it once your pan is properly seasoned. Once you have the rust removed, you can scrub the skillet clean with soap and hot water, then re-season it like you would a new skillet. You may have to repeat this process more than once to get the results you’re looking for. Make sure you dry it thoroughly before starting the seasoning process
