Perfectly Pickled
enjoy the taste of the summer all year long.
I grew up a city kid through and through, but one of my favourite memories growing up was going to a family farm for special occasions which meant a family feast, and best of all, homemade pickles.
Fast forward a decade (or two), and pickles on the dinner table still hold a special place for me . Canning and pickling is an annual tradition in this goddess’ house and these crunchy snacks are always ready just time for Thanksgiving dinner.
My last tip? Make a few extra jars so you can send some home with guests or take to dinner parties as a housewarming treat — you’ll get as much enjoyment in giving these perfectly pickled presents as you do in making and eating them. — CFG
Recipe sizes
I’ve provide a few options on recipe size so you don’t have to spend all your time converting amounts. Farmer’s market vendors typically sell pickling cucumbers in 5- and 10lb bags, but don’t be afraid to ask them for a better deal if you plan on making more. Just remember my rule of thumb: 1lb of pickles makes a 1-litre jar.
Pickling Tips
Purchase your pickling cucumbers the same time as your flowering dill weed. (One I year I got caught empty-handed and by the time I tracked the dill down all of my cucumbers had gone fuzzy.)
Plan on making your pickles within a day or two of gathering your main ingredients — especially if your cucumbers have been purchased pre-washed.
Prep your garlic toes a day or two prior to pickling so they’re ready to go.
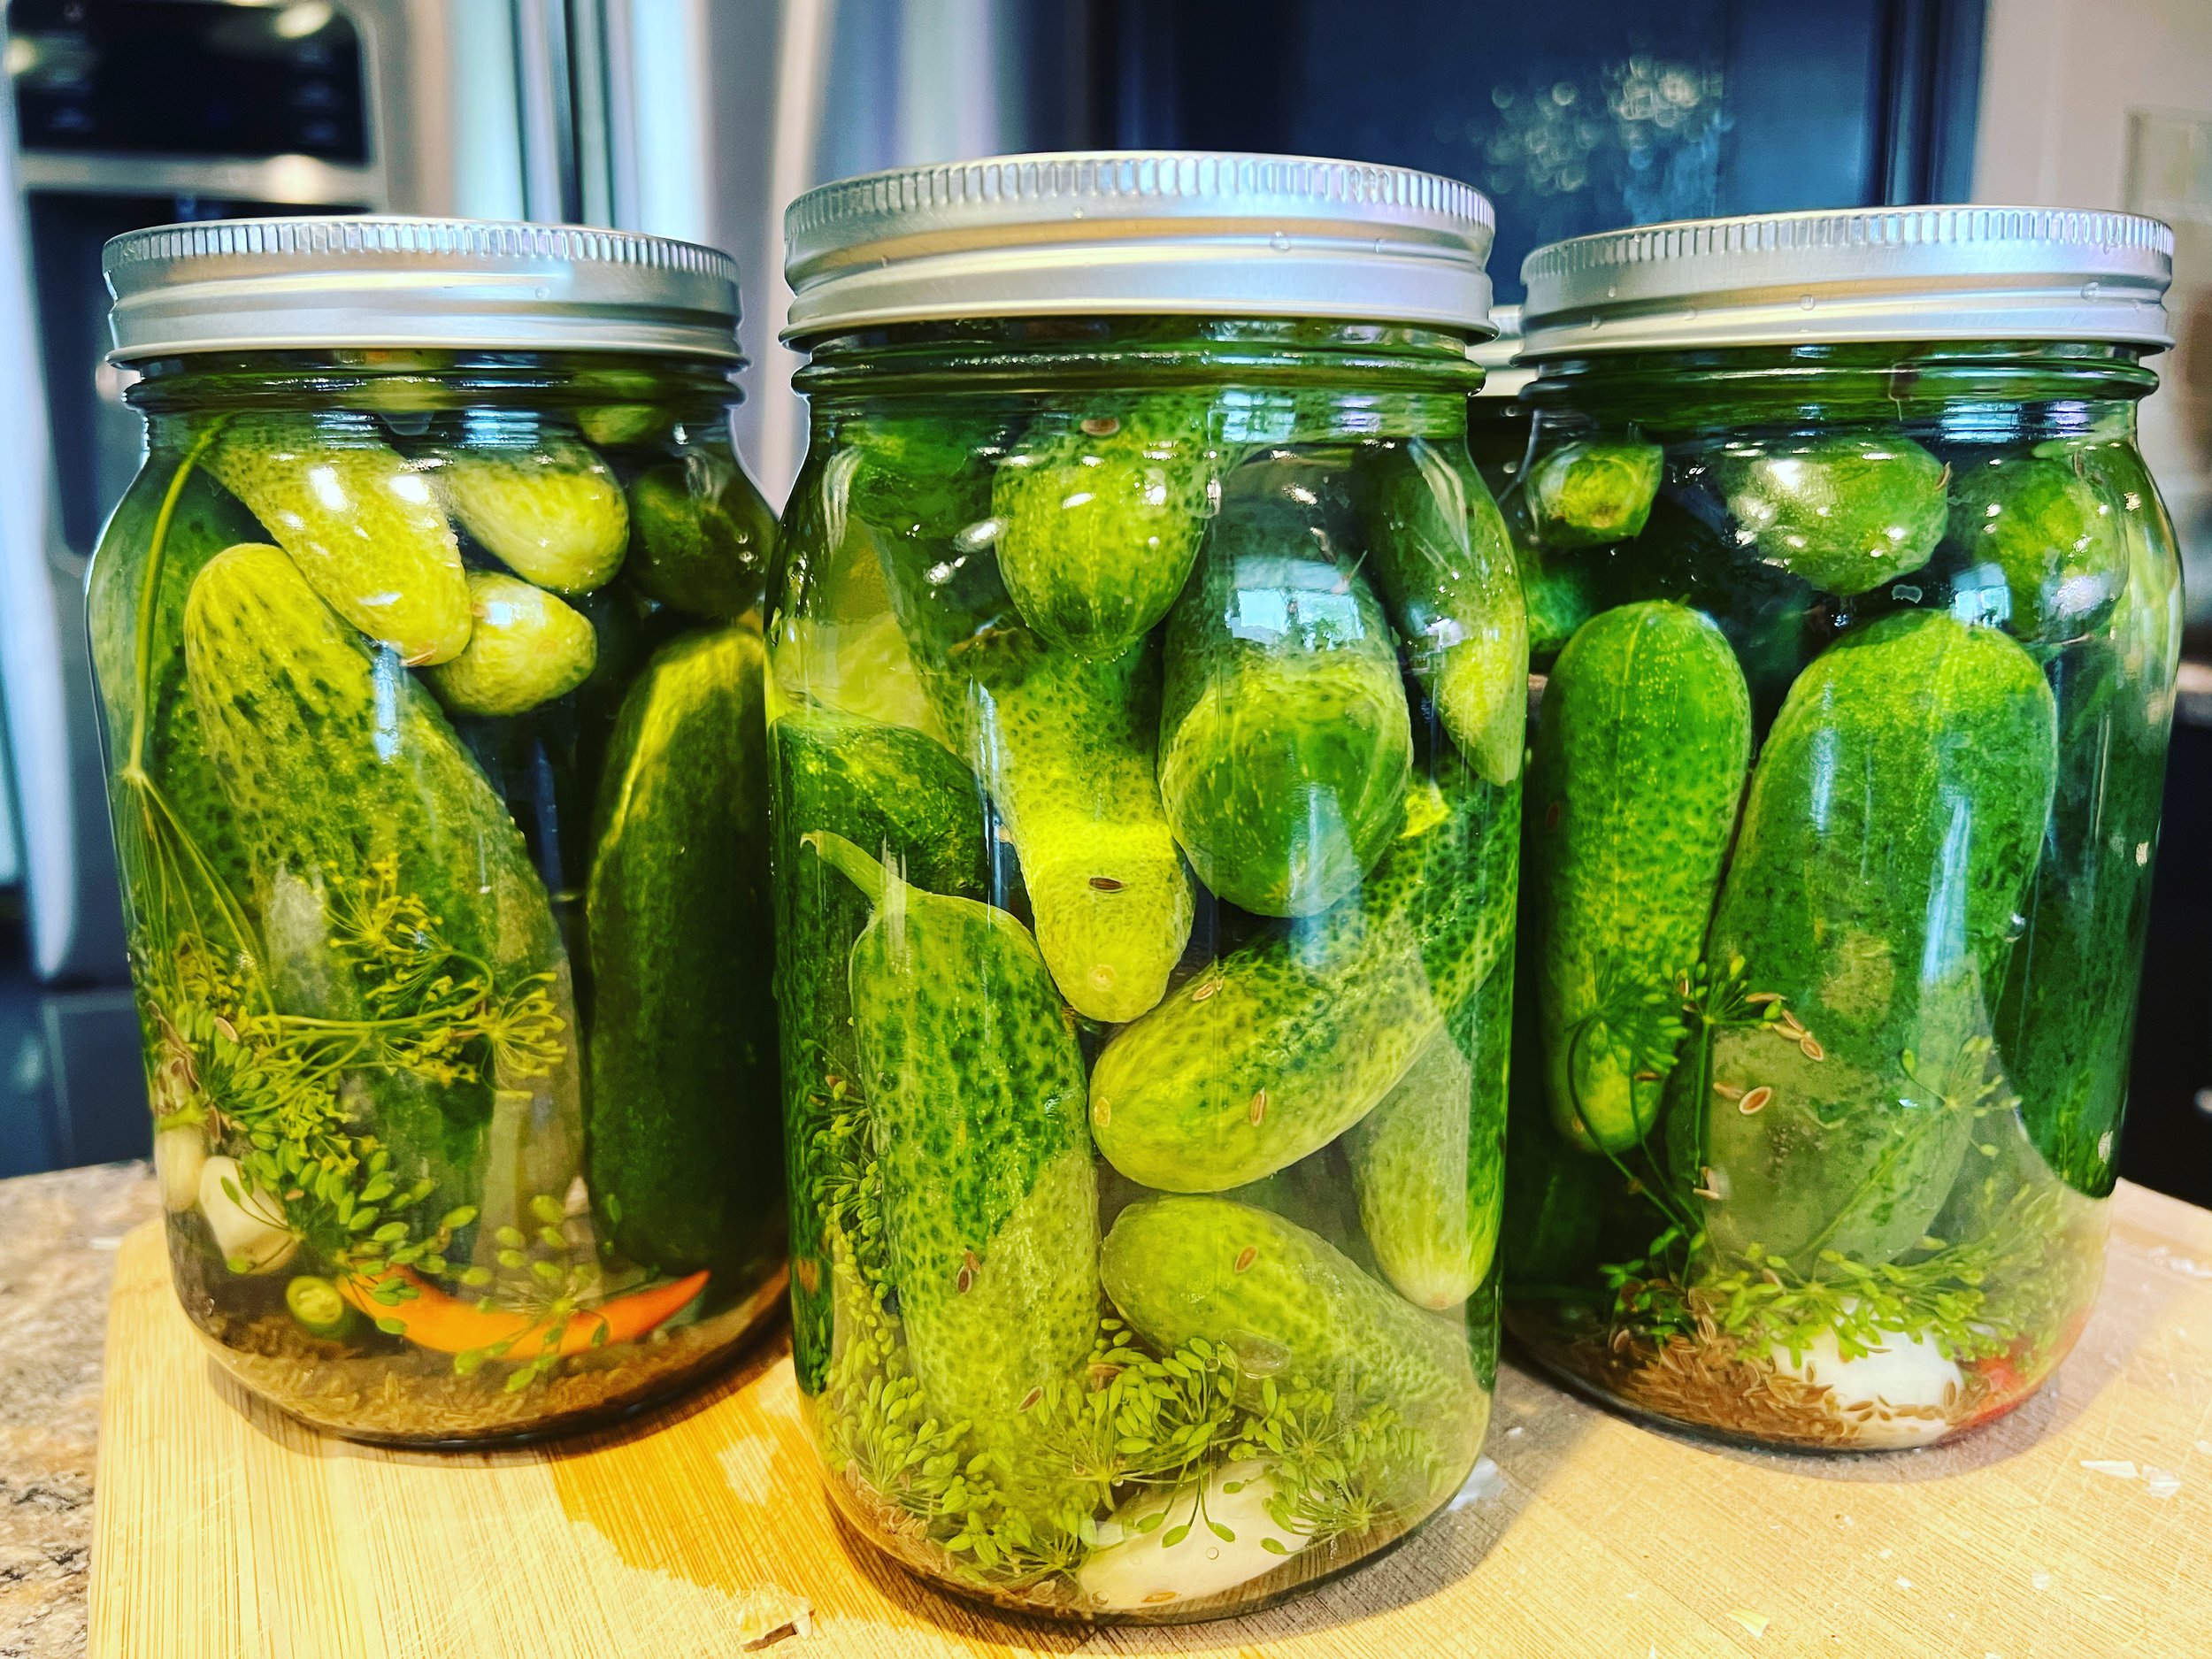
Small cucumbers can be left whole. Larger cucumbers can be sliced or cut into spears
Prepare your workstation like an assembly line to maximize hot-packing your jars before adding in the brine.
Sanitize your jars, lids, and seals in the dishwasher. I run clean jars through a soap-free cycle and time the cleaning so I can start packing jars as soon as the dishwasher has finished its cycle. (You can also soak jars in clean hot water in your sink if you prefer.)
There’s no need to process these jars in a hot water bath as they’re hot-packed as you go.
For those jars that don’t seal right away (button pulls down), give the screw top an extra hand-tightening and then turn the jar upside down.
Any jars that don’t seal within 1-2 hours can be processed in a canning bath for 10-15 minutes.
Jars that don’t seal with either of these processes can be placed in the fridge for a few weeks or should simply be disposed of.
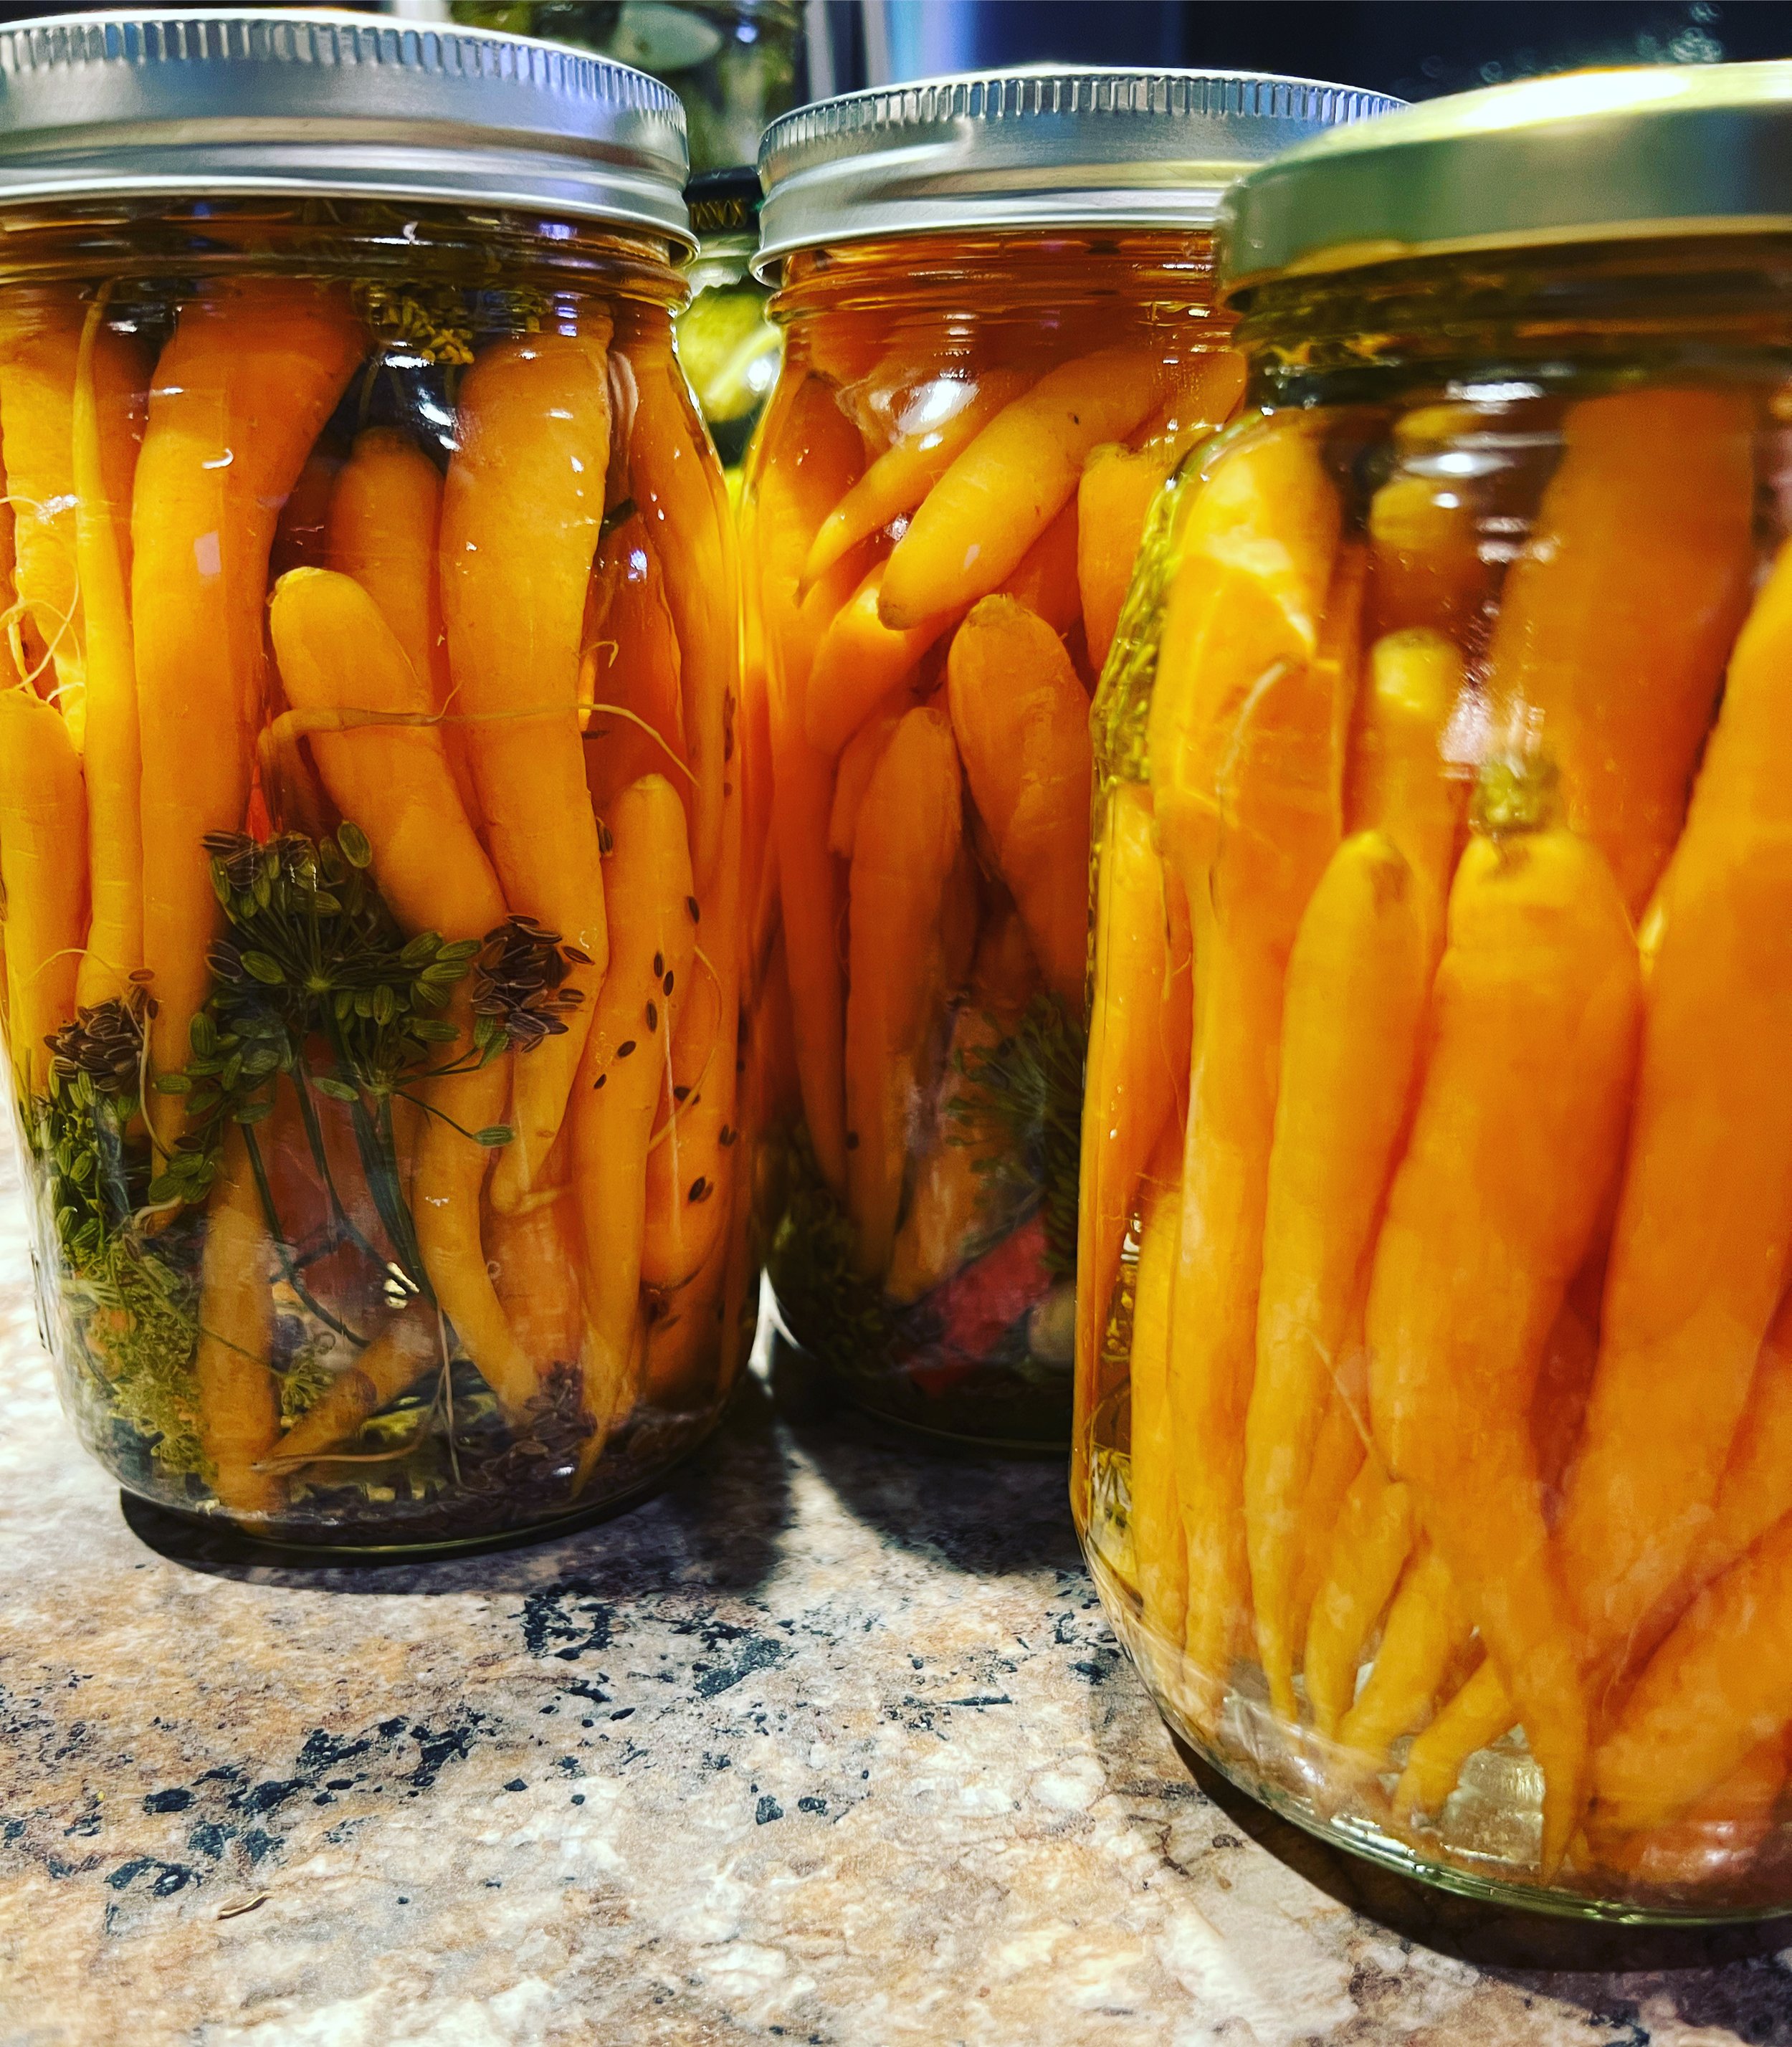
Try your hand with other vegetables — carrots, onions, asparagus and beans all work great!
Kitchen Equipment for Pickling
Extra large stainless steel mixing bowls
Aluminum stock pot
Canner with removable rack
Canning funnel
Tongs
Jar lifter
Magnetic lid lifter
Bottle wrench
Mason jar grip sleeve tongs
Ingredients
1lb of Pickles (~1-litre jar of pickles):
1lb of pickling cucumbers
¾ cup of white vinegar
1 cup of water
1 tbsp pickling salt or coarse kosher salt
2 cloves peeled garlic
1 ½ tsp dried dill seed
1 fresh sprig of dill weed (flower)
½ tsp whole peppercorns
Scant 1/8 tsp of red chili flakes
5lbs of Pickles (~5 litres of pickles)
5lbs of pickling cucumbers
3 ¾ cups of white vinegar
5 cups of filtered water
1/3 cup pickling salt or coarse kosher salt
10 cloves peeled garlic
2tbsp plus ½ tsp dried dill seed
5-6 fresh sprigs of dill weed (flower)
2 ½ tsp whole peppercorns
¾ tsp of red chili flakes
10lbs of Pickles (~10 litres of pickles)
10lbs of pickling cucumbers
7 ½ cups of white vinegar
7 cups of water
2/3 cup pickling salt or coarse kosher salt
20 cloves peeled garlic
1/3 cup dried dill seed
10-12 sprigs of dill weed (flower)
5 tsp whole peppercorns
1 ½ tsp of red chili flakes
1 cup of red/green thai chili peppers, stems removed
Directions
To prepare pickling ingredients:
Peel and remove the skins and bottom stems on garlic toes and set aside in a small bowl.
Cut the stems off the chili peppers and set aside in a small bowl.
In separate bowls, place your dill seed, peppercorns, and chili flakes in ramekins with a measuring spoon in each (1/2tsp for peppercorns, 1 tsp for dill seed, 1/8 tsp for chili flakes). Set aside.
Gently rinse fresh flowering dill weed. Remove excess water by gently shaking off in the sink, or with a salad spinner.
Wash pickling cucumbers in cool water and remove any debris or excess stems. Be sure not to over scrub the cucumbers to avoid removing or damaging the skin.
Separate cucumbers into large bowls placing like-sizes together.
To prepare brine:
In a large aluminum pot, add vinegar, water, and kosher/pickling salt and bring mixture just to a boil.
Lower heat to medium-high to keep brine hot and place a lid on top to avoid evaporation until you’re ready to use.
To pack/assemble jars:
After sanitizing/heating jars (see ‘pickling tips’ above), place 4-6 jars in a row on your countertop and fill with the required portion of peeled garlic, dill seed, peppercorns, chili flakes, chilis (optional), and flowering dill weed.
Next, stuff jars with pickling cucumbers. Mix and match larger cucumbers with smaller ones to maximize the space filled in your 1-litre jar.
Move jars next to your pot of brine. (I place a large cutting board on the stove directly next to the pot of brine to limit spillage and reduce the amount of handling on the hot jars.)
Fill each jar with hot brine, leaving 1/4” of space on the top of jar.
Making sure the rims of the jars are dry, place a sanitized seal and screw top on each jar and tighten by hand.
Allow jars to rest while they seal.
Store sealed pickles in a cool, dark place (basement pantry area/cool room) and allow 6-8 weeks for pickles to be ready.
Serve and enjoy!


